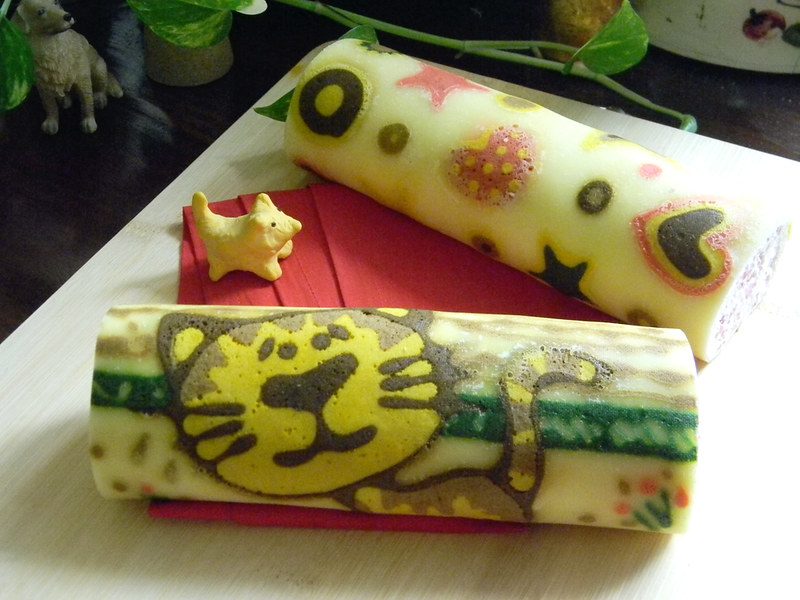
So here I am now, blogging about my first post this year, my first challenge in the club, and my first swiss roll.
Honestly, I was freaked out reading the challenge... Oh no, JRC or Japanese Roll Cake? Junko's Japanese style Swiss Roll? with cute drawing on the roll? I've never baked swiss roll or roll cake before. I read that people often have issues on rolling the cake and it cracks. While thinking the best way to meet the challenge, I read the members' posts in the KBB maillist, many have problems already... It seems that this JRC or Japanese Roll Cake is more difficult than the ordinary roll cake. My confidence was sliding down the floor and melt like a marshmallow on a campfire. What can I do? When Junko post it in her blog (in japanese only), this kind of swiss roll (she named it Deco Roll) instantly hit the top. Oh no, don't look at my "towel" cake photo, that's the ugly failed one, far from kawaii or cute.. look at all the deco roll posted on her blog (at least you can look at the pictures, no?), then you will understand why people immediately fall in love to this kind of swiss roll. They are amazing! And me, after visiting Junko's blog, I think I caught the bug...
You might wonder.. towels? No, those are from my second attempts baking swiss roll
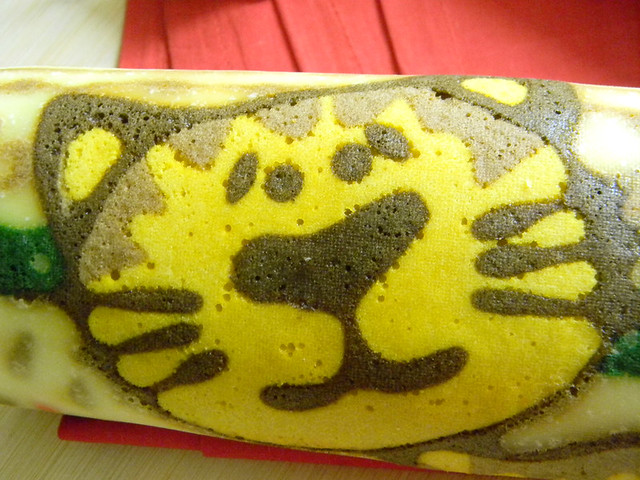
The challenge was sent with a recipe from Ibu Rachmah Setyawati, with detail instruction on how to draw design with cake batter. She posted her Sweet Green Polka Dots Japanese Roll Cake on her blog in October last year. Using recipe from Junko's book and modified it a little. That was the one sent to us for our challenge. In total I tried 3 times, the first and second attempts were disaster... you can see what I came up with from the "towel" picture above. Not only that they didn't raise well, they were wrinkle like the skin of that "towel dog" Chinese Shar Pei... This challenge really made me think hard how to solve those problems. The cake is supposed to be airy soft and smooth. I realised that I didn't fold the batter properly during mixing and I lost too much air from the batter. Let me explain how to make drawing design on this kind of swiss roll. Before pouring the main batter, we have to make design or drawing using colored batter on a parchment paper that used to line the bottom of the baking tray. Freeze or quick-bake to set, cover with main batter and bake as usual. While doing the batter-drawing, I noticed that the moisture from the batter seeps into the parchment paper and makes it wrinkle. So, the solution I can think of are folding and mixing the batter carefully not to lose air, and using water resistant liner to line the baking tray or using silicone baking tray. Well, I don't have silicone baking tray, but I have this reusable silicone/parchment baking paper like this Kitchen Supply Parchment Paper (not paper actually), that can be cut to fit the tray. I wonder also if we can use wax paper or lightly oil the parchment paper? Maybe for the next experiment.
Taking care not to over-mix, the result from the third try was good. It seems that whisking egg white to the right consistency (soft peak) and mixing/folding the batter play a very very crucial role here. I enjoyed drawing the designs with different color.
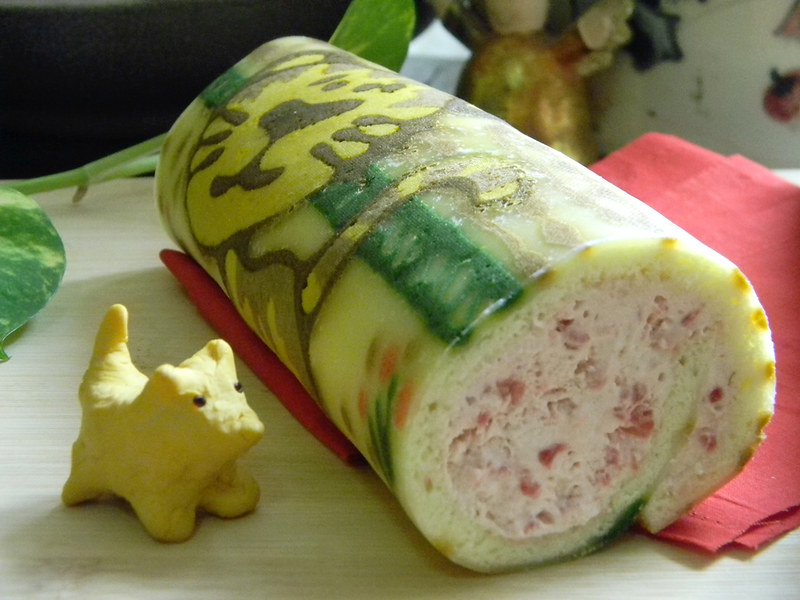
The cake recipe is based on sponge-cake recipe, using mostly white eggs. That's why it's a little bit "springy" when you bite on it, but I see that it minimize the risk of cracking when we roll and shape the cake. It's nicely soft, and with a good flavor for the creamy filling you'll have the best roll cake, in appearance, texture, and flavor. A complete package.
For the filling, on the second attempt (the "towel" swiss roll) I simply whip heavy cream and mix in the frozen mango puree (Gedong Gincu mango) I have in my freezer, no sugar added since the mango puree is already sweet enough from the mango. For the good third swiss roll, I use frozen raspberry and since the frozen raspberry is not sweet enough, I added honey to sweeten. Appears to be a good flavor combination.. raspberry and honey.
The recipe from KBB is good, but I see that the batter for drawing is way too much (well, at least for my design), so I reduced and separated just enough volume using Junko's technique.


